
OBS (Open Broadcaster Software) is a powerful, open-source tool for live streaming and video recording, widely used by gamers, content creators, and educators. Adding Spotify music to OBS can enhance your streams with background music, improving engagement and setting the right mood. In this guide, we’ll explore 3 methods to add Spotify to OBS — along with their pros and cons — so you can seamlessly integrate music into your broadcasts.
Sidify Music Converter is a simple tool designed to download music from Spotify to your local computer as MP3/AAC/WAV/FLAC/AIFF/ALAC files. Once you save Spotify songs as MP3s, you can add them as local media source to OBS.
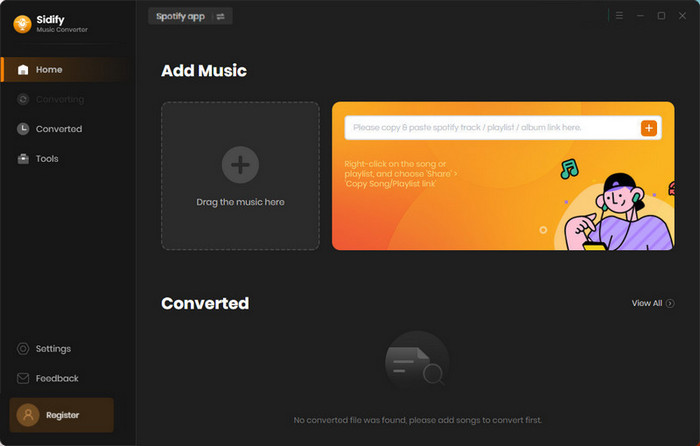
Step 1Download Sidify Music Converter, install and open it.
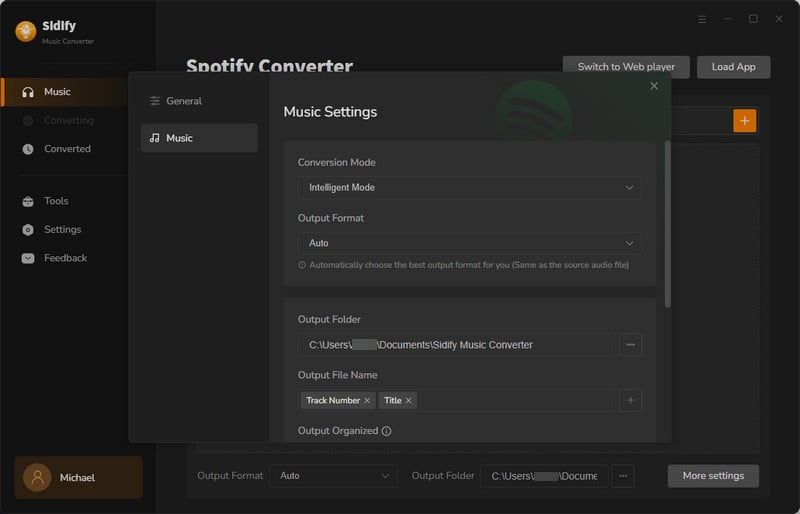
Step 2Click the Settings icon in Sidify, select MP3 output format, and specify the output folder.
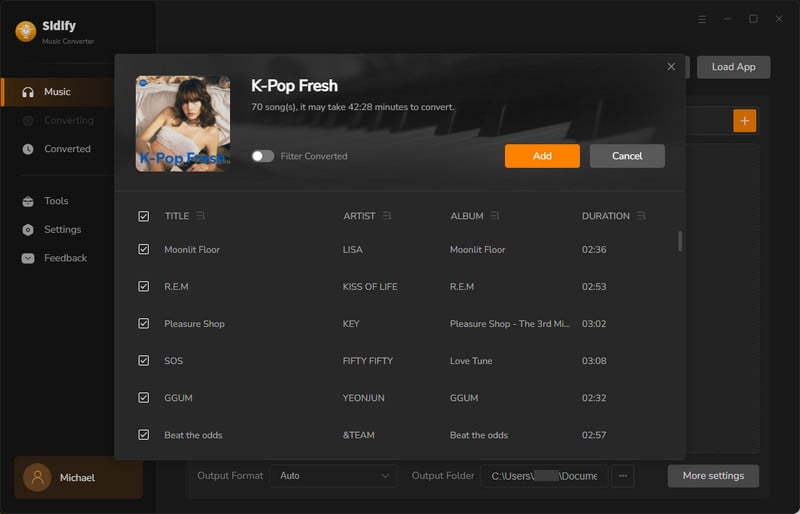
Step 3Drag & drop the Spotify music that you want to add to OBS from Spotify to Sidify. Select & add the music to Sidify for downloading.
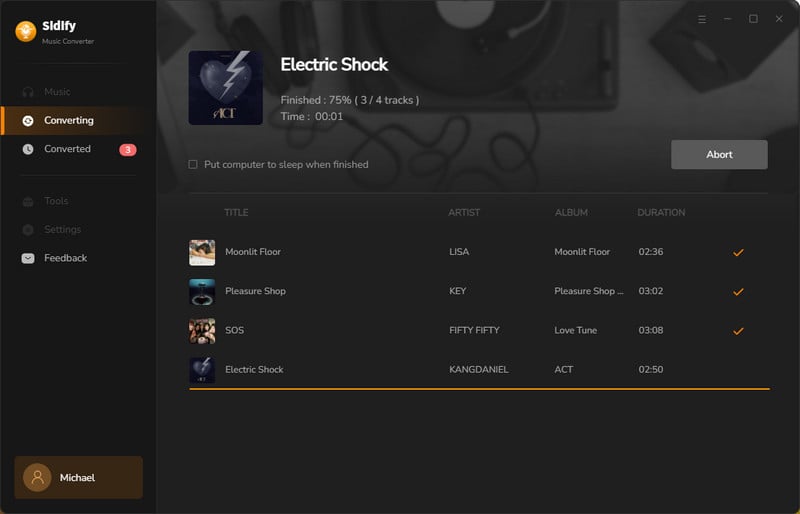
Step 4Click the Convert button to start downloading the Spotify music to your local computer. Once finished, the Spotify download will be saved to the output folder set in Step 2.

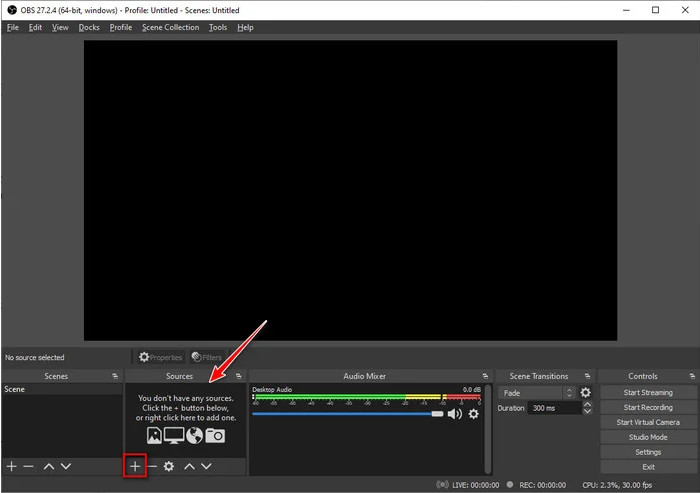
Step 5Open OBS, and click the + button in the Sources panel.
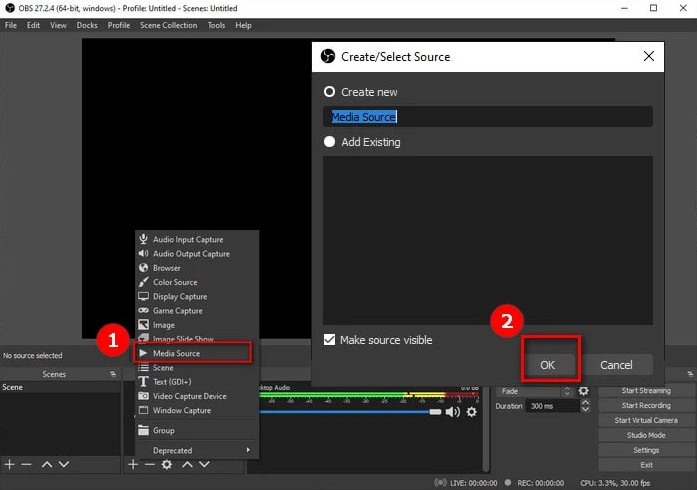
Step 6Select Media Source, name your source (e.g., "background music"), and click OK.
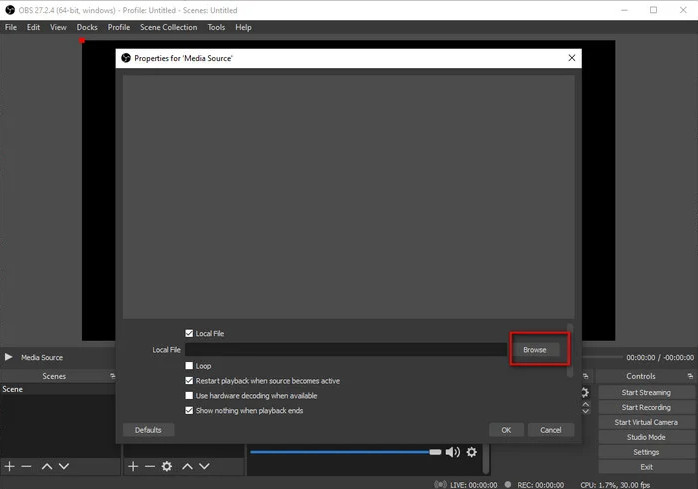
Step 7In the Properties window, check Local File, click Browse, select the Spotify downloaded file, and confirm it.
The Desktop Audio option in OBS enables capturing all system sounds directly. This method requires just a few quick settings adjustments: Open OBS’s audio settings, set your default playback device as the desktop audio source, then play Spotify normally.
Step 1Open OBS and go to Settings.
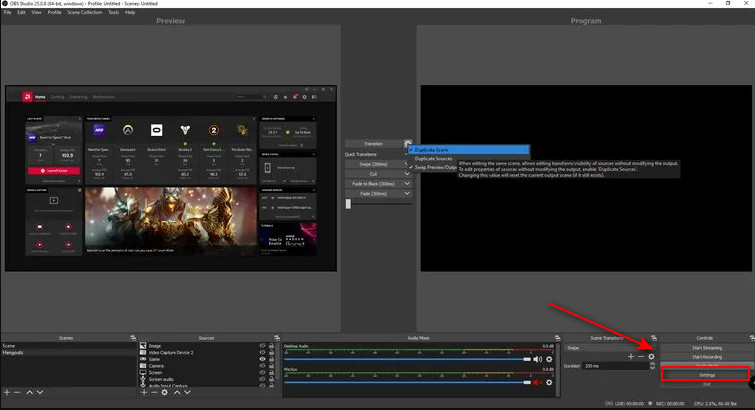
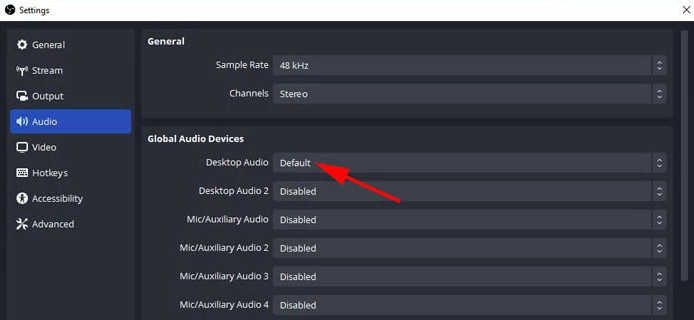
Step 2Select Audio from the left menu.
Step 3Under Global Audio Devices, set Desktop Audio to your default system output, and click OK to save.
Step 4Play Spotify on your desktop app or web player.
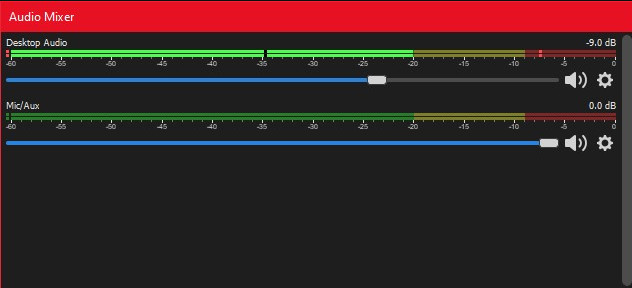
Step 5Check OBS's Audio Mixer - if you see movement in the volume bar, it's working.
For a reliable way to get rid of Spotify’s restrictions, VB-Cable offers a virtual audio routing solution. This method directs Spotify’s audio exclusively to OBS without interference from other system sounds. After a quick installation and sound settings adjustment, you’ll have full control over Spotify’s audio feed — ideal for clean, isolated music playback in your streams.
Step 1Download VB-Cable, install it and then restart your PC.
Step 2Right-click the Volume icon in your taskbar, open Sound settings.
Step 3Under Output, set CABLE Input (VB-Audio Virtual Cable) as the default device.
Step 4Open Spotify and play music - it will now route to the virtual cable.
Step 5In OBS, go to Settings > Audio. Under Global Audio Devices, set Desktop Audio back to your normal speakers.
Step 6In the Sources panel, click + > Audio Output Capture. Name it (e.g., "Spotify Audio"), select CABLE Output (VB-Audio Virtual Cable), and click OK.
Step 7Test by playing Spotify - OBS should now capture the audio cleanly.
Capturing Spotify via the desktop audio option often fails, typically resulting in black screens or no sound. While virtual cables work, local files offer zero latency and full control. Thus, for the most stable way to add Spotify music to OBS, downloading tracks locally via Sidify Music Converter and adding them as a Media Source is the best solution. It avoids capture issues, guarantees perfect audio sync, and let you edit/loop tracks freely.

Hanna Ellis | Content Writer


